It turns out that some users were still using the LED functionality. Adding it back. |
||
|---|---|---|
| deb | ||
| diode_controller | ||
| doc | ||
| fs_filecheck | ||
| fs_get_shell/etc | ||
| kernel_config | ||
| midi | ||
| shell_utils | ||
| tests | ||
| .gitignore | ||
| CHANGELOG | ||
| CONTRIBUTING.md | ||
| LICENSE | ||
| README.md | ||
| README_setup.md | ||
| copy_to_final.sh | ||
| mount_image.sh | ||
| proper_chroot.sh | ||
| run_tests.sh | ||
README.md
CIRCLean
How To
Graphical how-to and pre-built image.
To prepare the SD card on Windows, you can use Win32DiskImager.
And the linux way is in the command line, via dd (see in copy_to_final.sh)
If you'd like to contribute to the project or build the image yourself, see contributing and the setup readme. This is a work in progress - contributions are welcome.
Why/What
This project aims to be useful when you get/find a USB key that you can't trust, and you want to look at its contents without taking the risk of plugging it into your computer directly.
CIRCLean is currently tested to work with USB keys that have FAT32, NTFS, or ext2/3/4 filesystems. Currently, exFAT is not supported due to lack of support for this format in pmount. The vast majority of USB keys will be FAT32 or NTFS.
The content of the untrusted key will be copied or/and converted to the second (blank) key following these rules (based on the mime type as determined bylibmagic):
- Direct copy of:
- Plain text files (mime type: text/*)
- Audio files (mime type: audio/*)
- Video files (mime type: video/*)
- Example files (mime type: example/*)
- Multipart files (mime type: multipart/*)
- xml files, after being converted to text files
- Octet-stream files
- Copied after verification:
- Image files after verifying that they are not compression bombs (mime type: image/*)
- PDF files, after marking as dangerous if they contain malicious content
- msword|vnd.openxmlformats-officedocument.|vnd.ms-|vnd.oasis.opendocument*, after parsing with oletools/olefile and marking as dangerous if the parsing fails.
- Copied but marked as dangerous (DANGEROUS_filename_DANGEROUS)
- Message files (mime type: message/*)
- Model files (mime type: model/*)
- x-dosexec (executable)
- Compressed files (zip|x-rar|x-bzip2|x-lzip|x-lzma|x-lzop|x-xz|x-compress|x-gzip|x-tar|*compressed):
- Archives are unpacked, with the unpacking process stopped after 2 levels of archives to prevent archive bombs.
- The above rules are applied recursively to the unpacked files.
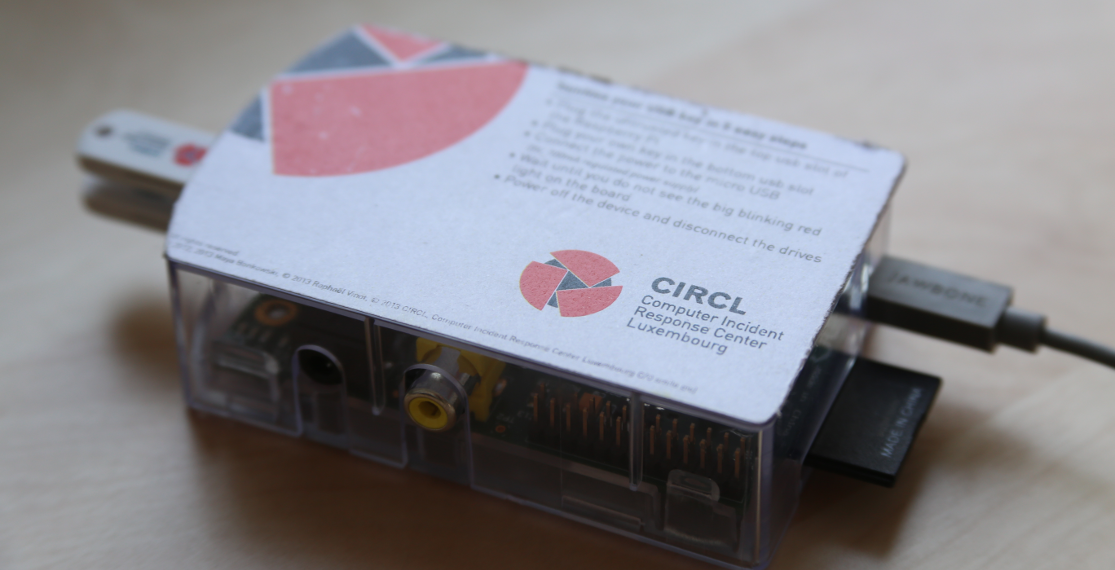
Usage
-
Power off the device and unplug all connections.
-
Plug the untrusted key in the top USB slot of the Raspberry Pi.
-
Plug your own key in the bottom USB slot (or use any of the other slots if there are more than 2).
Note: This key should be bigger than the original one because any archives present on the source key will be expanded and copied.
-
Optional: connect the HDMI cable to a screen to monitor the process.
-
Connect the power to the micro USB port.
Note: Use a 5V, 700mA+ regulated power supply
-
Wait until you do not see any blinking green light on the board, or if you connected the HDMI cable, check the screen. The process is slow and can take 30-60 minutes depending on how many document conversions take place.
-
Power off the device and disconnect the drives.
Helper scripts
You should use them as examples when you are creating a new image and probably not run them blindly as you will most probably have to change parameters accordingly to your configuration.
IN ALL CASES, PLEASE READ THE COMMENTS IN THE SCRIPTS AT LEAST ONCE.
- proper_chroot.sh: uses qemu to chroot into a raspbian instance (.img or SD Card)
- prepare_rPI.sh: update the system, some configuration
- create_user.sh: create the user who will run the scripts, assign the proper sudo rights.
- copy_to_final.sh: populate the content of the directory fs/ in the image, contains a sample of dd command to write the image on the SD card. NOTE: TAKE CARE NOT TO USE THE WRONG DESTINATION